But don’t worry, we’ve got you covered! In this guide, we’ll walk you through the exact steps needed to adjust your settings without a subscription and successfully import your WordPress site without a hitch.
Understanding the Tech Stack
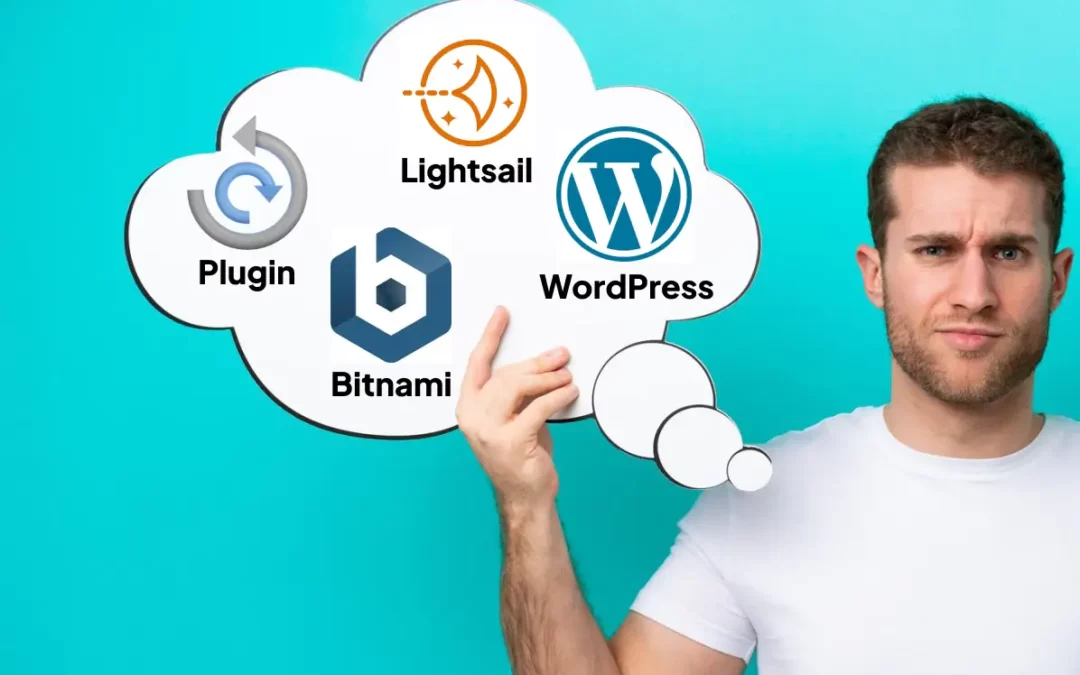
Before we dive into the solution, let’s quickly break down the key technologies involved in this migration:
- All-in-One WP Migration Plugin – This plugin is bundled with most WordPress installations and offers a seamless way to export and import your site for backups or migrations. It’s one of the most user-friendly migration tools available.
- Amazon Lightsail – Amazon Lightsail is AWS’s simplified cloud hosting solution that allows service providers to manage hosting environments efficiently. It features an intuitive UI and powerful customizations, making it a scalable and cost-effective option.
- Bitnami – Bitnami is a software package that helps deploy WordPress quickly. It’s developer-friendly and allows for easy server-side modifications, which is key to resolving import issues.
Common Issues
If you’ve searched online for solutions like we did, you’ve probably seen advice like:
- “Make changes in the root directory.”
- “Add files to the root directory.”
- “Update your hosting panel settings.”
Unfortunately, these suggestions don’t work when using the All-in-One WP Migration plugin in an Amazon Lightsail and Bitnami environment. After running into this issue multiple times (and finally documenting the fix!), we’re sharing the correct step-by-step instructions so you can successfully import your WordPress site.
Step-by-Step Instructions to Fix Import Issues
1. Access Your WordPress Instance in Amazon Lightsail
- Log into your AWS Console and navigate to Amazon Lightsail.
- Connect to your WordPress instance via SSH.

2. Edit the PHP Configuration File
In the terminal, enter the following command:
sudo nano /opt/bitnami/php/etc/php.ini
This opens the php.ini file, which controls import size limits and execution time.

3. Modify These Three Key Settings
Find and update the following parameters based on your .wpress file size:
- post_max_size – Defines the maximum size of a post (for this to work, it must match upload_max_filesize).
Suggested value: 2048M - upload_max_filesize – Determines the max file size that can be uploaded.
Suggested value: 2048M (or match your .wpress file size) - max_execution_time – Sets the time limit for script execution (critical for large imports).
Suggested value: 1800 (30 minutes)
Tip: Use CTRL or ^ + W to search the above parameters and paste the new values in the terminal.
4. Save and Exit
- Press CTRL or ^ + X to exit Nano.
- When prompted to save, press Y to confirm changes and hit Enter.
5. Restart Your Server
To apply the changes, restart the Bitnami stack with:
sudo /opt/bitnami/ctlscript.sh restart

6. Verify the Import Settings in WordPress
- Install and activate the All-in-One WP Migration plugin on your new WordPress site.
- Go to the Import section and check the max upload size.
If everything worked correctly, you should see 2GB as the new limit. If it still shows 80M, you did something wrong, so check the above steps or try restarting the server again.

7. Attempt the Import
- Start your import and monitor the process.
- If it fails after 30 minutes, increase the max_execution_time value.
That should be it! Your WordPress site should now import successfully without issues.
Final Thoughts
Migrating a WordPress site to Amazon Lightsail with Bitnami using All-in-One WP Migration requires a few manual adjustments. But with these configuration updates, you can bypass the default limitations and complete your import smoothly.
Need more help with WordPress migration, hosting, or website optimization? Connect with us today!